
Green screens are utilized in a surprising number of video productions these days, whether you are aware of it or not. Even the smallest producers of videos can utilize it to create amazing content and various effects. However, it can also be incredibly challenging and difficult to receive the proper results.
Let’s be clear on what exactly a green screen is.
What Is a Green Screen?
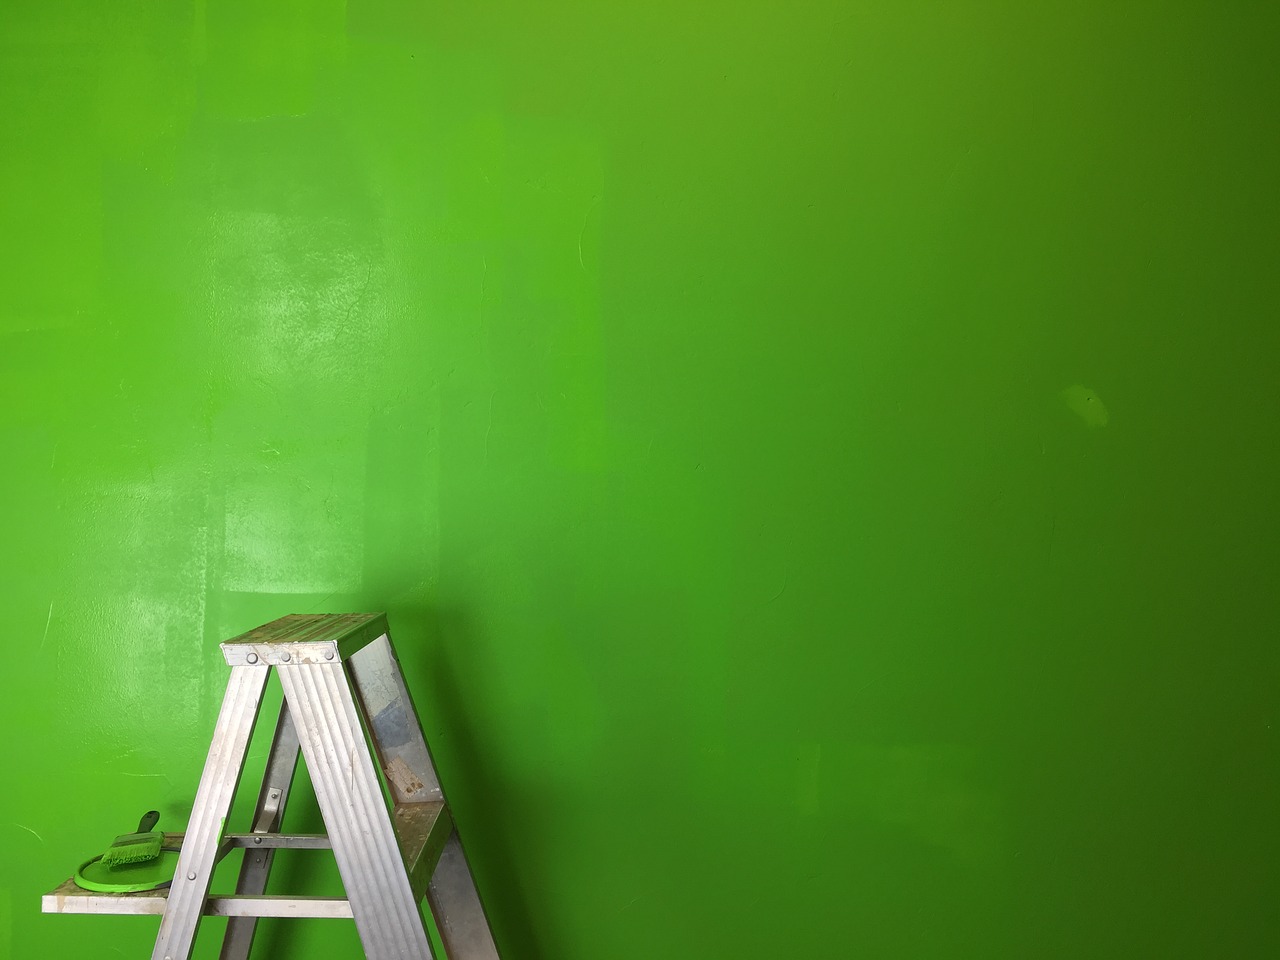
Quite literally, a green screen is a background “screen” (which can be made out of fabric, paper, or even paint) that is a specific color, usually green. Through the magic of modern technology and video effects, this allows us to take a subject and superimpose it onto a virtual background. This means we can take your subject and place it over any animated digital background you want, whether you want them underwater, flying in the sky, or deep in a desert.
This useful tool can be used for a myriad of tasks aside from a simple background replacement; it can be used to simulate television weather reports, screen replacements, and even to shrink a full-grown human down so that they look like an ant standing on a tabletop.
In order to successfully remove a subject from the real world and place them in this imaginary world, we need to pull clean keys around them and composite the digital backdrops into the edit.
How It Works
To get these clean “keys,” we must isolate either a brightness value or a single color that is in an electronic image, and then we can use software to take that value and make it transparent. When it becomes transparent, you can add another image behind it so that it will show through in just those keyed areas.
It wasn’t always quite so simple – the very beginning of this journey began with matte techniques.
First Stop: Matte Techniques
A matte effect was one of the first forays into visual effects in filmmaking. Many, many years ago, a filmmaker by the name of Georges Méliès created this initial attempt when he needed to find a way to have an actor surreally remove his own head.
To do this, he came up with a meticulous technique where he took multiple exposures of multiple frames and combined them. By separately blocking parts of the lens of the camera to leave certain areas blank, he was able to superimpose the blank frames on top of alternate frames that were filmed with a clear lens. If people weren’t convinced of Méliès’ illusionary skills before, they certainly were after he pulled off this stunt.
Because digital film is a recent advancement, this was all done on old-fashioned camera rolls and strips. In order to achieve this unique effect, the sections of the film strips that were originally shielded from the light become the new point of focus as the film strip is run through the camera a second time.
Another common matte technique was the “glass shot,” where a piece of glass was painted and placed between the camera and the subject. This was often used as a set extension method, where a house’s scale was exaggerated or more villas were added, or even grand landscapes were painted. The downside to this glass method was that it was incredibly time-consuming and costly, involving a lot of time to set up.
Méliès’ original approach created a domino effect of inspiration where other techniques were experimented with (through a similar process) to get to the same place: overlaying various layers on the same frame to remove or add something from the image. This process became known as using matte techniques.
Matte techniques were often useful in creating the illusion that something was filmed in a historical or far away location when that location was too far outside of the production’s budget.
It’s easy to see how this process was foundational to green screen technology, but there are still a few more improvements it needed to go through to get to the techniques used today.
Enter: The Blue Screen
Some may argue that the actual history of the green screen began in the 1930s when chroma key technology was created.
Chroma Key Process
The process of color keying, also known as chromakeying, is where you identify a specific color that you want to remove by selecting it and telling computer software to make it transparent.
Larry Butler was a filmmaker who was one of the first to successfully utilize a traveling matte with a blue screen extensively in The Thief of Bagdad in the 1940s. This was when it became more obvious that a singular color backdrop can be utilized in filming to assist the filmmakers in isolating their actors from the actual background, making adding visual effects easier.
The color blue was decided on simply because it was different enough from the skin colors of the actors, which made the process of separating the background and foreground simpler.
Transitional Period – From Blue to Green
As time went on, chroma key technology became used in almost every aspect of filming to create unbelievable effects. However, it wasn’t until the development of digital camera technology that people began to switch from blue to green screens.
There were a few issues with having a blue chroma key to begin with. For example, actors with blue eyes faced the issue of having their eyes occasionally being keyed out with the background, and the same goes for anyone who wore blue jeans. Another factor that contributed to this color transition was that digital cameras were simply more sensitive to the color green, so it was easier to pinpoint and remove. All in all, the switch made sense.
Modern Technology
The trailblazing technology that is the green screen continued to have momentum throughout the 20th century, with creative minds finding new uses for it left and right. Who Framed Roger Rabbit utilized green screen in 1988 to combine animation with live-action film, earning itself multiple awards and marking a significant new era in filmmaking as actors could act with “invisible” animated co-stars. Both blockbusters with unimaginable budgets and smaller low-budget indie films can achieve their remarkable effects using this technology.
Using a Reliable Green Screen
While these handy tools can seem magical at first glance, there is a lot of precise work that needs to be put in to achieve the sought-after magical results. If everything isn’t done correctly during the original shoot, it can create all sorts of post-production problems where it will take hours and hours of frustrating efforts to fix the end product.
Here are a few tips for successfully using a green screen right the first time:
Light it Correctly
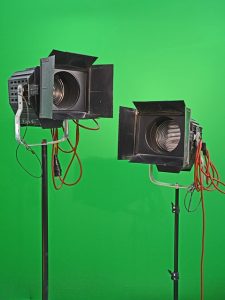
Arguably the biggest factor in determining if a green screen will look professional or not is the lighting. The best color keys come from an evenly lit, smooth color. This is because once it’s selected, we won’t need to select multiple shades in order to make it transparent – we simply select one chroma key and that alone should make the whole background disappear.
What is important to remember is that even the most prestigious camera and editing software cannot fix poor lighting. Typically, key lights, fill lights, and background lights are all needed. We begin with lighting the background, then the backlight (also known as the hair light – this separates the actor from the background for easy removal), then a key light, and finally the fill.
Keep an Eye on Movement
If the green screen isn’t super large, it is important to be aware of the actor’s movements to make sure they are not moving outside of the area of color removal. If they move just a single hand gesture outside of the designated area, we may need to redo that entire shot; in post-production, it is nearly impossible to replace a missing hand.
Minimize Challenging Reflections and Hair
The background and lighting can be perfect, but there might still be gritty, unprofessional results and you may wonder why.
Some other factors that play a role in the final result are certain hair colors, types, and styles, and reflections.
Blonde hair, for example, has a lot of yellow in it, which is close to green, which makes the keying process more difficult. Curly hair is also difficult to cleanly key around simply because of the complexity of the outline. Reflections from jewelry and eyeglasses (or anything else that might sparkle) can create some issues as well, so it is easier to just remove these before production so that you don’t have to deal with them in post.
Contact Phoenix Production Services Today!
At Phoenix Production Services, we have extensive experience in all things green screen. Our crew knows all the tips, tricks, and workarounds to ensuring the cleanest results every time. Contact us today to book us for your next project!
Recent Comments